Welcome to Photography Friday!!
Thanks to all of you who participated in the editing fun photo of my daughter. You guys did AWESOME! I love every one of them...and also...thanks for the sweet comments about her :) How could she be so stinkin' cute...but be sooo naughty at times :) ...lol! She seriously knows how to work her magic with her eyes :)
Well...today I thought I would share one way that I like to make my colors pop in my photos. To do this tutorial I used Photoshop Elements 7. I have had quite a few e-mails regarding what program I use...and if I like it. Well...I absolutely LOVE PSE7!! There are a few things that you can't do that newer versions can...but I think it is a great beginner program for anyone who wants to learn editing. In the future I will probably upgrade to the newer versions...but for now this one is working for me. :)
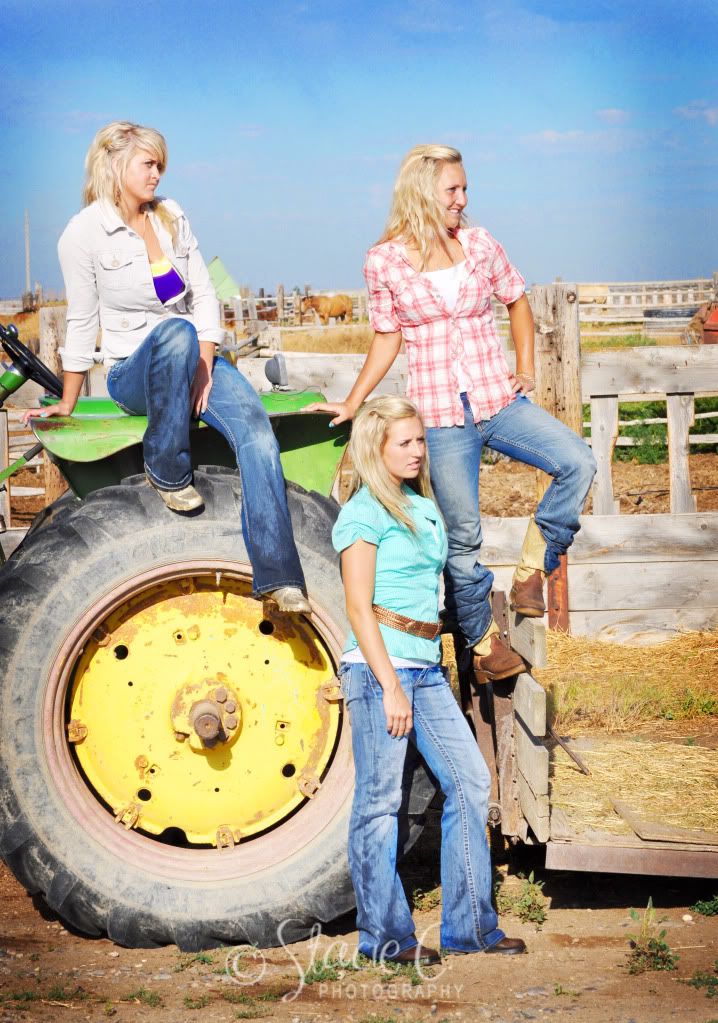
Sooo....this is the photo I am going to work with today:
{Aren't my nieces beautiful!}
I just wanted to add a little more of a pop to a few of the colors in this photo...like greens, yellows, and blues. Here's how I did it:
First I opened my photo in PSE7...then I wanted to lighted it up a bit...so I went to: Layer, New Adjustment Layer, Levels...and lighten your photo to your liking. Then hit OK. This is how I did mine:

Then make sure you have your background layer selected...and go to Layer, New Adjustment Layer, Hue/Saturation, and the box will pop up and you can name this layer if you'd like, then hit ok. Then you have this box:
Click the drop down arrow where it says master, and select the color you would like to make pop. If you don't select a certain color...when you go to make your adjustment it will effect your whole photo and that's not what i want to do...so I am going to select green to bring out the tractor seat a little. Sooo... move your saturation slider to the right and adjust to your liking. Then hit ok. Then repeat that step and do this to all of the colors you wish to make pop. I think I'm going to pop the yellow in the tractor wheel... and the blue sky a little.
When I adjusted the blues...it made the jeans on the girls look tooo blue...so I am going to leave the blue saturation on the sky....and take it off of the girls jeans. To do this... make sure your blue layer is selected...and over to the bottom left...your black is your foreground color and you white is your background color...and I chose a soft round brush. (check out the red arrows)
Then I brushed over the jeans to desaturate that blue. {Note: You can see over on the blue layer "below" the black marks on the layer that shows where I took the blue saturation off}.
Then to finish the photo off...selected the background layer...then the burn tool, and I burned the edges at a 26% exposure. Also... I added a little more "umph"...and bump up the contrast by clicking Layer, New Adjustment layer, Brightness/Contrast, then I moved only the contrast slider to about 73. Here is my before and after:
Before:
After:
Now it's your turn!! Link up your before/after color pop photos!
You are welcome to use the first image at the top of this post...or one of your own. Also...if you'd like to share how you edited yours{if it's different}...that would be great too...but it's not required.
Just Have FuN!
Here's the link:


