Check out these FuN flower rings made from CLAY!!!
Sooo CuTE!!!
{LoVe that ring base too!}
Jen...thanks so much for sharing!
Here are a few of the FaBULouS projects made by YOU!
Visit
Taidye Original to find out how you can create your own Anthro-inspired Necklace!
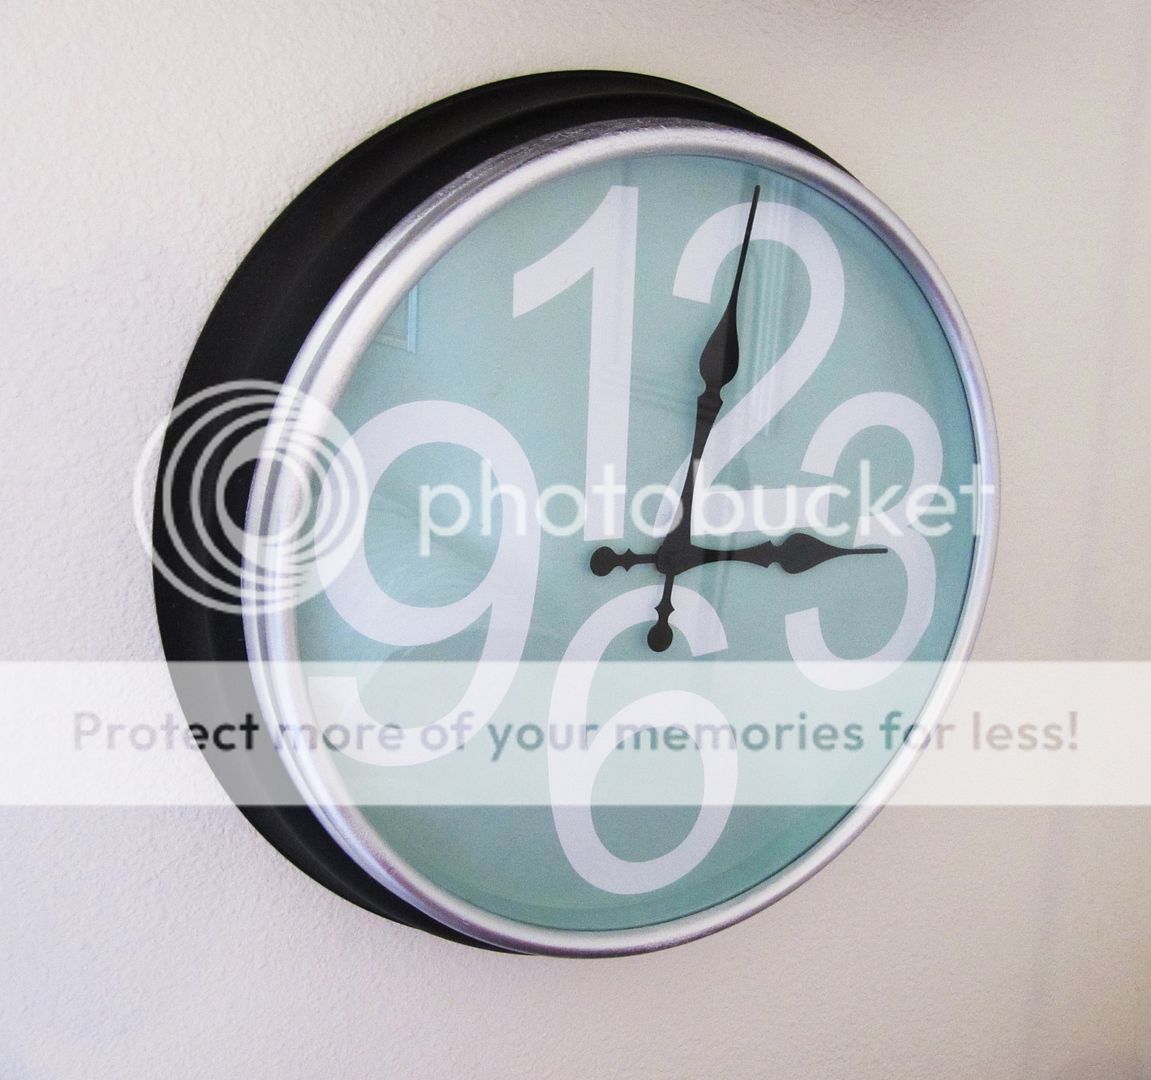
Give your old clock a makeover at
HoneyBear Lane! Thanks so much for ALL of your submissions!!
I am sooo excited to share with you what has been keeping me a little pre-occupied recently. I knew I wanted to change the look of our kitchen...but was a little hesitant on how to do it. Sooo finally I just decided to dive in...and go for it. Here's a peek at what I've been working on:
then painted a whole-lotta these...
And...
Do ya want to see how it turned out??!!
Phew!!!
It was a LOT of work...but I LOVE how it turned out...and am sooo glad we did it!! It is AMAZING what a little work and paint can do!

Check out this
FuN lil' girly skirt that I came across at
LukeAndHailieGirl! She transformed a plain t-shirt...to this
FuN little J.CREW-like skirt for
$7!! LoVe it!!

Check out a complete how-to...
HERE!
Luke and HailieGirl...thanks for sharing!
Welcome to Photography Friday!
It's Camilla from
CioCo Photography back again! Huge thanks to Stacie for filling in for so many weeks. Our first child was born on January 20th and we couldn't love her more! We feel so blessed! Since I love photography, the poor child has been subjected to countless photos in her short month of life. She'll appreciate it later in life right? ;) Today I just wanted to share a quick tip for something that will make a BIG difference in your photos.
The first photo is sooc. (Straight out of Camera). I used window light, but also compensated with a speed light on top of my dslr. This look can be achieved without a flash, you just need adequate lighting. The key truly to any good picture is your lighting composition, but we'll talk about that in a future post. Today we are going to talk about the simple photo shop tool I used to lighten the picture. It is the dodge tool. The only difference between the top and bottom pic is dodging.

Most of you will know about the dodge tool and use it frequently, but for those who don't make it your new best friend! :) It is circled on the left in red. This is a cs window, but it should be similar to Photoshop Elements. I think it looks like an aspirator, but that could be because I'm around a baby all day. Haha. When I use the dodge tool I typically will use it to lighten faces or iris's in the eye. I keep the opacity (circled at the top) to about 35% so the lighting is very gradual. I also focus on the mid tones, also circled. I like to also use it to outline a subject to give them a little pop away from the background, as I did with this picture.
I think it makes a big difference in your photos and draws the attention in. This bottom picture has the dodge tool used, the burn tool like Stacie mentioned in a previous Friday, and a curves adjustment, which we will also talk about in a later post. So have fun dodging!! Try it out on whatever photo you like, and come back with the before and after and link up! Have a wonderful weekend! (I'm going to go cuddle the little one some more). ;)
YAY!!! It's BACK!!!
Head on over to Canvas People and get your FREE 8x10 Canvas (only pay shipping)...or...$50 towards any size!!!


