create.

"As you take the normal opportunities of your daily life and create something of beauty and helpfulness,
you improve not only the world around you but also the world within you"

Dieter F. Uchtdorf


Monday, February 28, 2011

Have you heard of Zaycon Foods?!!! Check it out!!

This morning my sis-in-law was telling me about this company called Zaycon Foods...who delivers a semi truckload of product {like cases of beef or chicken} to certain locations for you to pick up, after your online purchase, and on a certain day and time.  She says it is an AWESOME deal...and when you pick it up...it only takes only a few minutes, and for an added bonus... you don't even have to get out of your car.  So I thought I'd check it out and here's what I found:
 
Zaycon Foods is a privately owned company based in the state of Washington. The company was founded in 2009 to bring fresh meats and other products direct to consumers at wholesale prices.
 
Currently, {in my area} they are having a case sale of 40 pounds of chicken {fresh boneless-skinless} for $63.60+tax... which is $1.59/lb. 
 
So if your family eats a {Lott-a} chicken breast...this would be ideal! 
 
Before their chicken event...they were selling ground beef...but now seems to be sold out.  There is a deadline you have to have your order in by...so if you are interested, you have to act quickly.
 
This will be my first time ordering from them...but from word of mouth...I have heard nothing but good things and I'm excited to receive mine!
 
Sooo...if you think you are interested and would like to see if it is offered in your area...or would just like more info...go HERE and  register...and...let them know you were referred  by Stacie Christensen  :)  Thanks!!


Photobucket

Friday, February 25, 2011

Chalkboard Vinyl Decals-DEAL

Check-out this FuN deal going on now at GroopDealz:


GroopDealz
This super fun chalkboard vinyl will help you get the new year organized!
Perfect for use in the kitchen, closet, storage, or kid's rooms. Very easy to use and works great with ordinary chalk.
Vinyl will stick to any clean surface.
Use a regular chalkboard eraser or a damp paper towel to wipe off.

Head on over to GroopDealz ...and grab this deal while it lasts!  Hmmm...wouldn't these make FuN gifts too?!!

Photobucket

Thursday, February 24, 2011

HURRY...this offer will end soon!

Hi All!!! 

 Just wanted to give you a quick heads-up on this FaBuLouS promotion going on only until March 1st.  Sooo... if you've been even thinking about purchasing a canvas...hurry on over to Canvas People and purchase yours at 40% off + free shipping!! {Sweet!}
  I still LOVE mine...and I know you will love yours! 

Hurry...this offer ends in 4 days!!! 


Also...Just for FuN...the first 3 people to leave comments on this post will receive free sidebar advertising on my blog for 1 month!!!  Winners may either advertise their blog, site, or shop!!!  GOOD LUCK!!!
Photobucket

Wednesday, February 23, 2011

{CuTe} Crochet Headband!

How CuTe is this headband??!!


I came across this idea at You Seriously Made That?!...and LoVe it!  What a Fun and CUTE project idea to make with your daughters...or granddaughters!!  If they are not familiar with a little crocheting yet...what a  Fun project to introduce it! 
Check out this awesome tutorial... HERE!

Cami...thanks so much for sharing!
Photobucket

Tuesday, February 22, 2011

My {bathroom makeover} info...

Thanks so much for all of your awesome comments on the bathroom makeover!  :)  I also received a few comments and e-mails asking me if I wouldn't mind breaking-down the info on my bathroom project...so here are the paint colors...costs...etc.

 I used all Behr brand paints ...and used French Roast for my vanity, and around mirror...Coliseum Marble for the upper wall...and Silky White for the beadboard.  I also bought a Silky White in Hi-Gloss and used it on the trim.  These colors were from the Premium Plus Ultra Color Center.  I had them mix the coliseum marble and silky white in the regular Behr paint...and had the french roast mixed in the premium plus ultra. (AWESOME stuff...I only had to paint the vanity @ mirror once...so it was definitely worth the extra money)


This is about how much the supplies came to:

Beadboard -$40
Liquid Nails-$13.00 (we also used a few nails to hold up the beadboard)
Caulk-$3
1x4 & 1x6 pine for around mirror-$13
Moulding (base, top of beadboard)-$27
Paint-$80
Light Fixture{Home Depot}, Faucet{Home Depot}, TP and Towel Holders{Lowe's}, Handle on front of vanity and shower curtain rod{Target}, Towel Hooks{Lowe's},- about $240.00

So the total cost of our bathroom re-do was around $415.00! 
The HUGE smile on my face-Priceless  :) 
Let me tell ya...it feels like night and day...and was worth every penny.  :)


Photobucket

Friday, February 18, 2011

Photography Friday- Cropping FuN!

Welcome to Photog Friday!!

Today...I just wanted to show you a quick lil' sample of how I made the SAME photo look so different... simply by cropping.  Check it out:

Original:


Too Fun!
 There are ~however~ goods and bads to cropping.  The good is that you can create these FuN angles that maybe you didn't see at the time you were originally taking the pic.  The bad is that the more you crop your image...the lesser quality your image might become.  So...you have to keep that in mind, but don't let that discourage you...try it out and experiment with it.  It is amazing the different angles and views one image actually can have!  :)

HapPy Picture Taking :)

   Photobucket

Thursday, February 17, 2011

What I've been up to...a {Bathroom Makeover}

YuP!!  Lately my hubby and I have been busy hangin' a whole lotta beadboard...and doing a whole lotta painting!  When I saw this HERE...I knew I had to give it a try.  AWESOME!

Here's a couple of BEFORE pics:
Photobucket
Photobucket


Photobucket


We added beadboard to the front of the cabinet door...and the side of the cabinet.
Photobucket
Added a frame around the mirror by gluing 1x6's and 1x4's right to the mirror...and added a little moulding to the top.
Photobucket
Of course...a new faucet and light fixture.
Photobucket
Took the towel bar away and added these FuN coat hooks.
PhotobucketPhotobucketPhotobucket
Here's a side by side.  What do ya think??
Photobucket

Next up...bring on the kitchen :)

beforeAndAfterButton

Photobucket

Tuesday, February 15, 2011

Lil' Belts Giveaway!

Hi All!!!
Just wanted to give you a quick heads-up on a FuN giveaway going on NOW at
Aren't these lil' belts CUTE??!!!


Head on over HERE to enter!!


Photobucket

Monday, February 14, 2011

Valentine's LOVE!

Here are a FEW of my Valentine  favorites... made by you!!
LOVE this Valentine's display from  The Rachel Berry Blog! 
Soo CuTe!!


LOVE these AdoRaBle pillows from Felt So CuTe!

LOVE these VERY CUTE Valentine's hairstyles at:
 The Story of a Princess and Her Hair!
{I actually did this to my daughters hair this morning...and it turned out sooo CUTE!!}

LOVE these chocolate dipped Oreos from

LOVE these CUTE little outfits from Simply Sew Sassy!!

LOVE this Valentine's banner from

Have a HaPpY Valentine's Day!!!

Photobucket

Friday, February 11, 2011

Photography Friday-a FuN way to get those colors to PoP!

Welcome to Photography Friday!! 

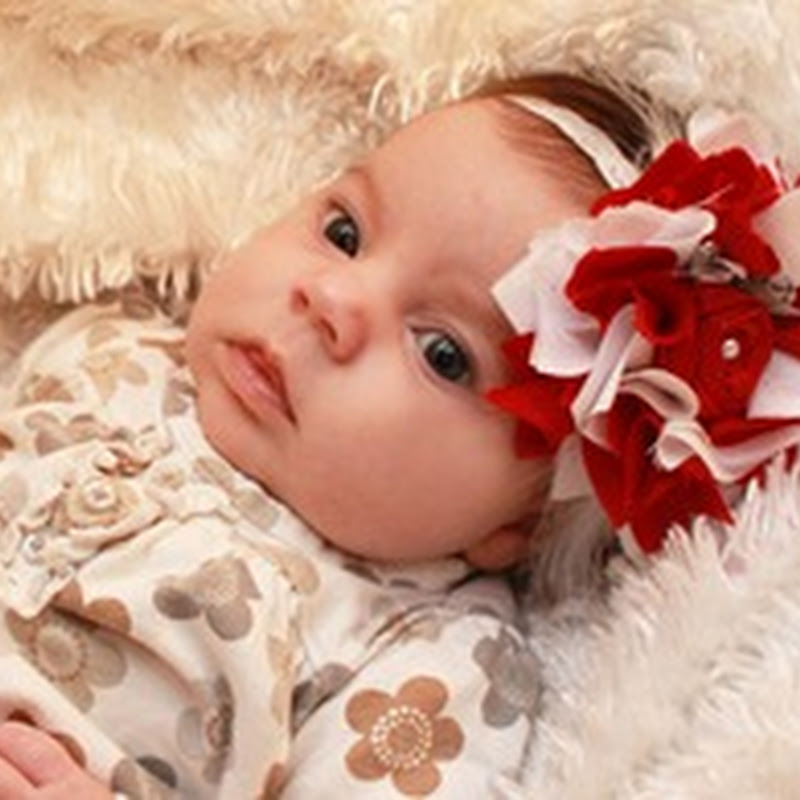
Thanks to all of you who participated in the editing fun photo of my daughter.  You guys did AWESOME!  I love every one of them...and also...thanks for the sweet comments about her  :)  How could  she be so stinkin' cute...but be sooo naughty at times :) ...lol!  She seriously knows how to work her magic with her eyes :)
 Well...today I thought I would  share one way that I like to make my colors pop in my photos.  To do this tutorial I used Photoshop Elements 7.  I have had quite a few e-mails regarding what program I use...and if I like it.  Well...I absolutely LOVE PSE7!!  There are a few things that you can't do that newer versions can...but  I think it is a great beginner program for anyone who wants to learn editing.  In the future I will probably upgrade to the newer versions...but for now this one is working for me. :)

Sooo....this is the photo I am going to work with today:
{Aren't my nieces beautiful!} 
I just wanted to add a little more of a pop to a few of the colors in this photo...like greens, yellows, and blues.  Here's how I did it:
First I opened my photo in PSE7...then I wanted to lighted it up a bit...so I went to:   Layer, New Adjustment Layer, Levels...and lighten your photo to your liking. Then hit OK. This is how I did mine:
Then make sure you have your background layer selected...and go to Layer, New Adjustment Layer, Hue/Saturation, and the box will pop up and you can name this layer if you'd like, then hit ok. Then you have this box:

Click the drop down arrow where it says master, and select the color you would like to make pop. If you don't select a certain color...when you go to make your adjustment it will effect your whole photo and that's not what i want to do...so I am going to select green to bring out the tractor seat a little.   Sooo... move your saturation slider to the right and adjust to your liking. Then hit ok. Then repeat that step and do this to all of the colors you wish to make pop. I think I'm going to pop the yellow in the tractor wheel... and the blue sky a little.  

When I adjusted the blues...it made the jeans on the girls look tooo blue...so I am going to leave the blue saturation on the sky....and take it off of the girls jeans. To do this... make sure your blue layer is selected...and over to the bottom left...your black is your foreground color and you white is your background color...and I chose a soft round brush.  (check out the red arrows)
Then I brushed over the jeans to desaturate that blue. {Note:  You can see over on the blue layer "below" the black marks on the layer that shows where I took the blue saturation off}.

Then to finish the photo off...selected the background layer...then the burn tool, and I burned the edges at a  26% exposure.  Also... I added a little more "umph"...and bump up the contrast by clicking Layer, New Adjustment layer, Brightness/Contrast, then I moved only the contrast slider to about 73.  Here is my before and after:

Before:

 After:

Photobucket
Now it's your turn!!  Link up your before/after color pop photos!  
You are welcome to use the first image at the top of this post...or one of your own.  Also...if you'd like to share how you edited  yours{if it's different}...that would be great too...but it's not required.  Just Have FuN!

Here's the link:


Photobucket


Don't stop here...Click on "OLDER POSTS"!!